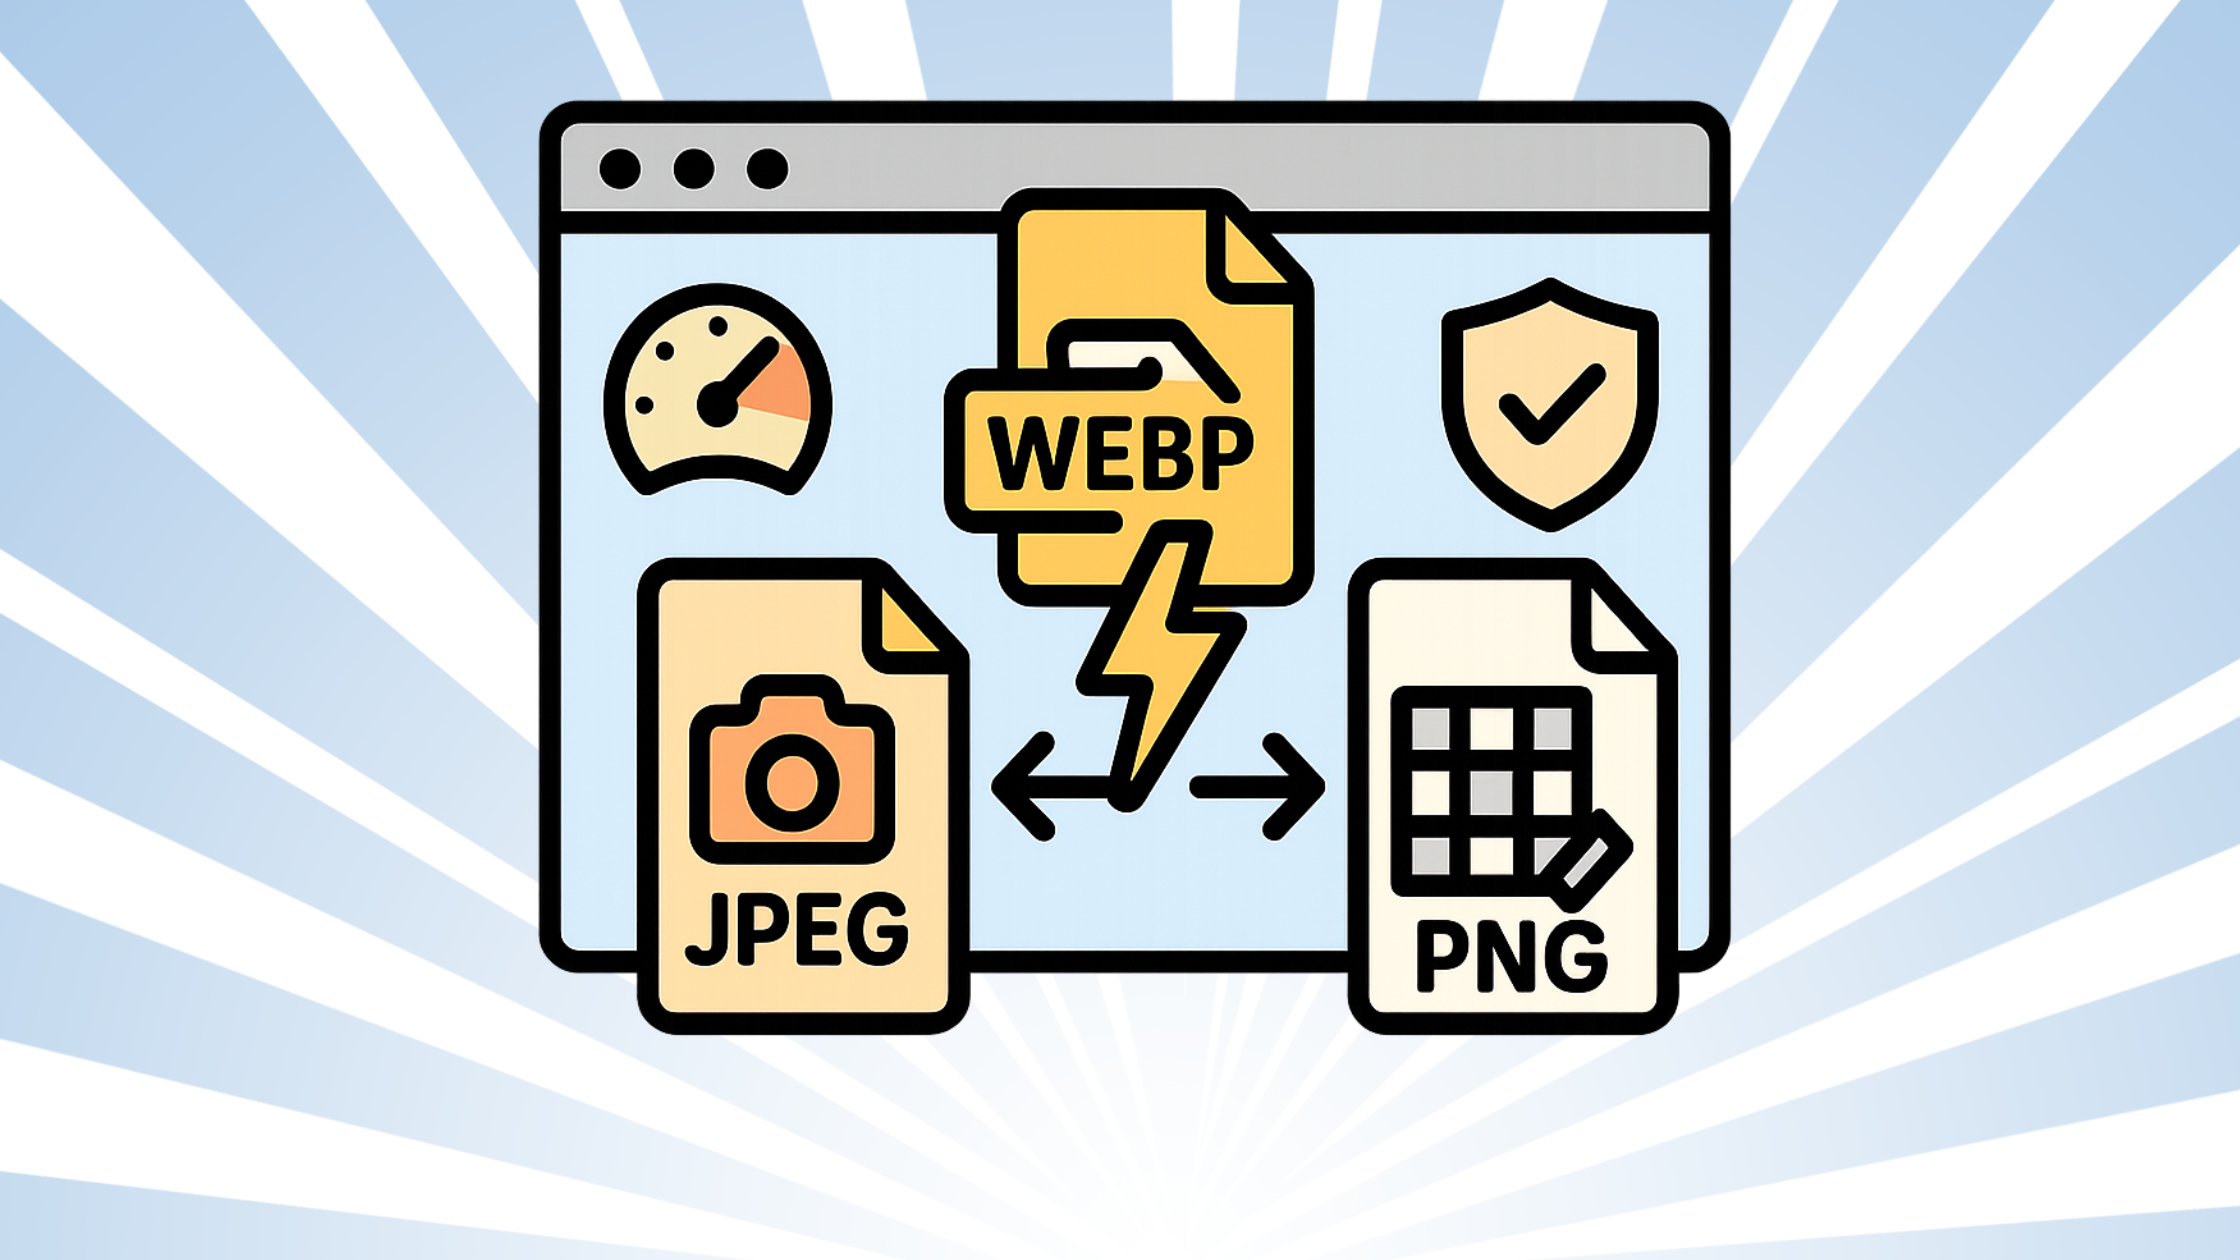
WebP vs JPEG vs PNG: Which Should You Use? (Fast Decision Guide)
Need to pick the right image format without guesswork? This guide gives you a quick, practical answer for speed, quality, and transparency—and every tool runs locally in your browser. No uploads. No sign-up. Just quick results.
Privacy note: Agmad tools convert, resize, and compress on your device. Files never leave your browser.
The 30-Second Answer
- Use WebP for most photos and illustrations on the web → small files, great quality.
- Use PNG for transparency (logos, UI, screenshots, line art) → crisp & lossless.
- Use JPEG only when you need maximum compatibility or quick, simple photos (no transparency).
👉 After choosing, use:
- Image Converter → switch formats locally
- Image Compressor → reduce size without ugly artifacts
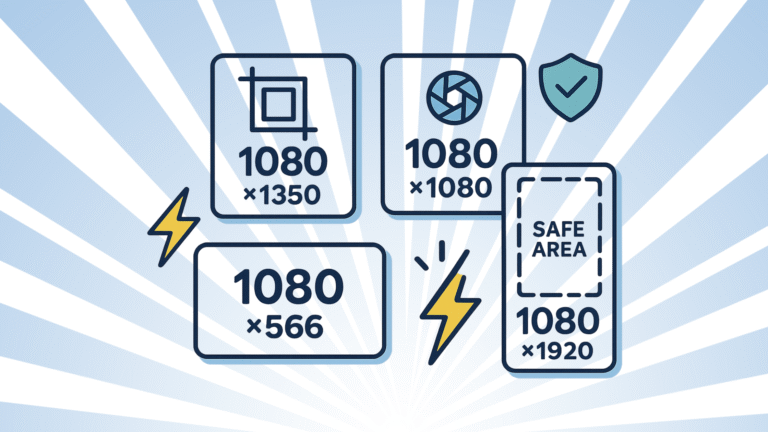
- Image Resizer → exact dimensions for IG/Shopify/blog
Comparison Cheat Sheet
| Feature | WebP | JPEG | PNG |
|---|---|---|---|
| Compression | Lossy + lossless | Lossy only | Lossless |
| Typical Size (photos) | Smallest | Small | Biggest |
| Transparency (alpha) | Yes | No | Yes |
| Quality at low size | Best | Good | Great for graphics |
| Best for | Web photos, illustrations, UI | Legacy support, quick photos | Logos, icons, screenshots, overlays |
| Drawbacks | Older apps may not support | No transparency, more artifacts | Large files for photos |
Tip: If you ever need even smaller sizes for hero images and product photos, try WebP (lossy) at quality 70–85. For crisp UI elements, prefer PNG or WebP lossless.
How to Choose (Simple Flow)
- Need transparency or pixel-perfect UI?
→ Pick PNG (or WebP lossless if size matters and your stack supports it). - Mostly photos or mixed graphics for the web?
→ Pick WebP (lossy). Start at quality 80 then adjust. - Targeting older systems, email signatures, or legacy CMS?
→ Use JPEG (high quality), or output both JPEG + WebP if your stack can switch automatically.
Practical Workflows (with local tools)
A) Standard blog post with hero image
- Resize hero to actual display size (e.g., 1200×630).
- Export WebP (lossy, Q80).
- Compress once more if needed.
Tools: Resizer → Converter (to WebP) → Compressor.
B) Transparent logo for dark/light themes
- Keep vector if possible (SVG). If raster: export PNG.
- Ensure sRGB color profile and 2× size for retina if needed.
- Compress lightly; don’t blur edges.
Tools: Converter (SVG/PNG), Compressor.
C) Shopify product gallery (zoomable photos)
- Shoot high-res, edit, then resize to your theme’s max width.
- Export WebP (Q80–85); keep a master JPEG if your PIM requires it.
- Test zoom and thumbnails for crispness.
Tools: Resizer → Converter → Compressor.
Tips & Common Mistakes
✅ Tips
- Resize before compressing. Biggest win for page speed.
- Strip metadata/EXIF unless you truly need it.
- Name files with keywords (
kebab-case), e.g.,leather-tote-bag-webp.webp. - Check LCP images (hero/product) first—optimize those for the largest gains.
🚫 Mistakes
- PNG for photos → huge files. Use WebP/JPEG instead.
- Expecting JPEG transparency → it doesn’t exist. Use PNG/WebP.
- Exporting at 100% quality → wasteful; try 80–90 for WebP, 70–85 for JPEG.
FAQs
Is WebP supported widely?
Yes, it’s broadly supported in modern browsers and platforms. For edge cases, you can keep a JPEG/PNG fallback.
Does WebP always beat JPEG in size?
For photos at similar visual quality, usually yes. Still, test your specific images—some graphics compress better as PNG.
Can PNG be smaller than WebP?
For flat graphics/icons and lossless needs, PNG can be very efficient. For photos, WebP is typically smaller.
What about AVIF?
AVIF can be even smaller than WebP for photos, but this guide focuses on WebP/JPEG/PNG since they’re the most common in everyday workflows.
Do it now (fast & private)
Related guides
- Convert JPEG to PNG Online — No Upload
- Batch Workflow: Resize → Compress → Convert


